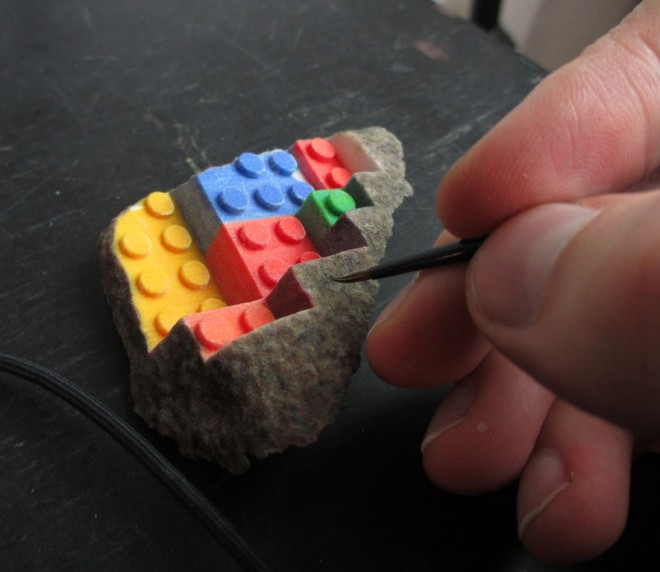
3D Printing Finishing
Links & Resources
- Smooth-on XTC-3D for finishing prints
- Make: Finishing 3D printed objects
- Guide to Finishing 3D Printed parts
- Sanding & Finishing Process (Video)
Bonding & Glueing Parts
If your object is too big to fit into the build platform of a printer, sectioning and bonding Fused Deposition Modeling (FDM) parts is a great solution. Thing to take into consideration when picking out your method for bonding include strength and material.
Adhesives
Using epoxy or cyanoacrylate (superglue) are commonly used to bond FDM parts. In general they are easy to use and offer good mechanical strength. Superglue can sometimes give you a brittle joint that can snap off.
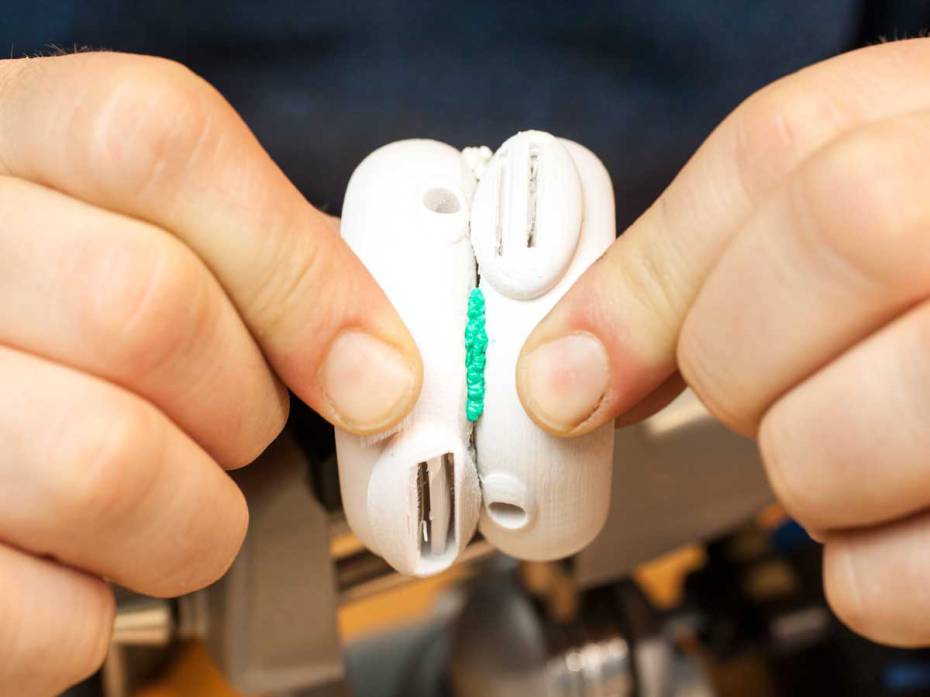
Friction Welding
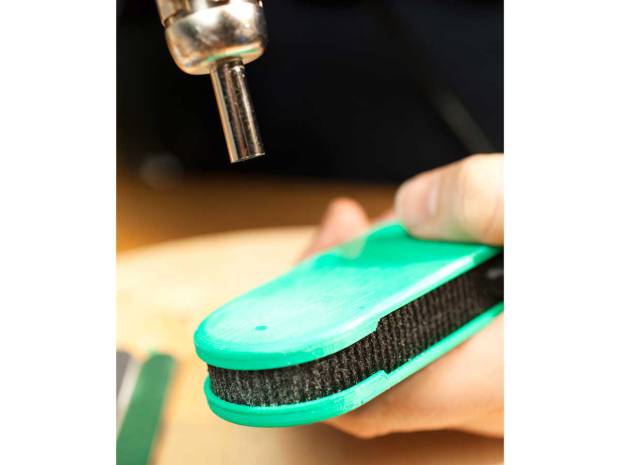
This method uses a rotary tool to spin the plastic filament very quickly, rubbing it against the welding joint. The mechanical friction produced by this action creates heat and melts the material onto the joint, fuzing two parts together.
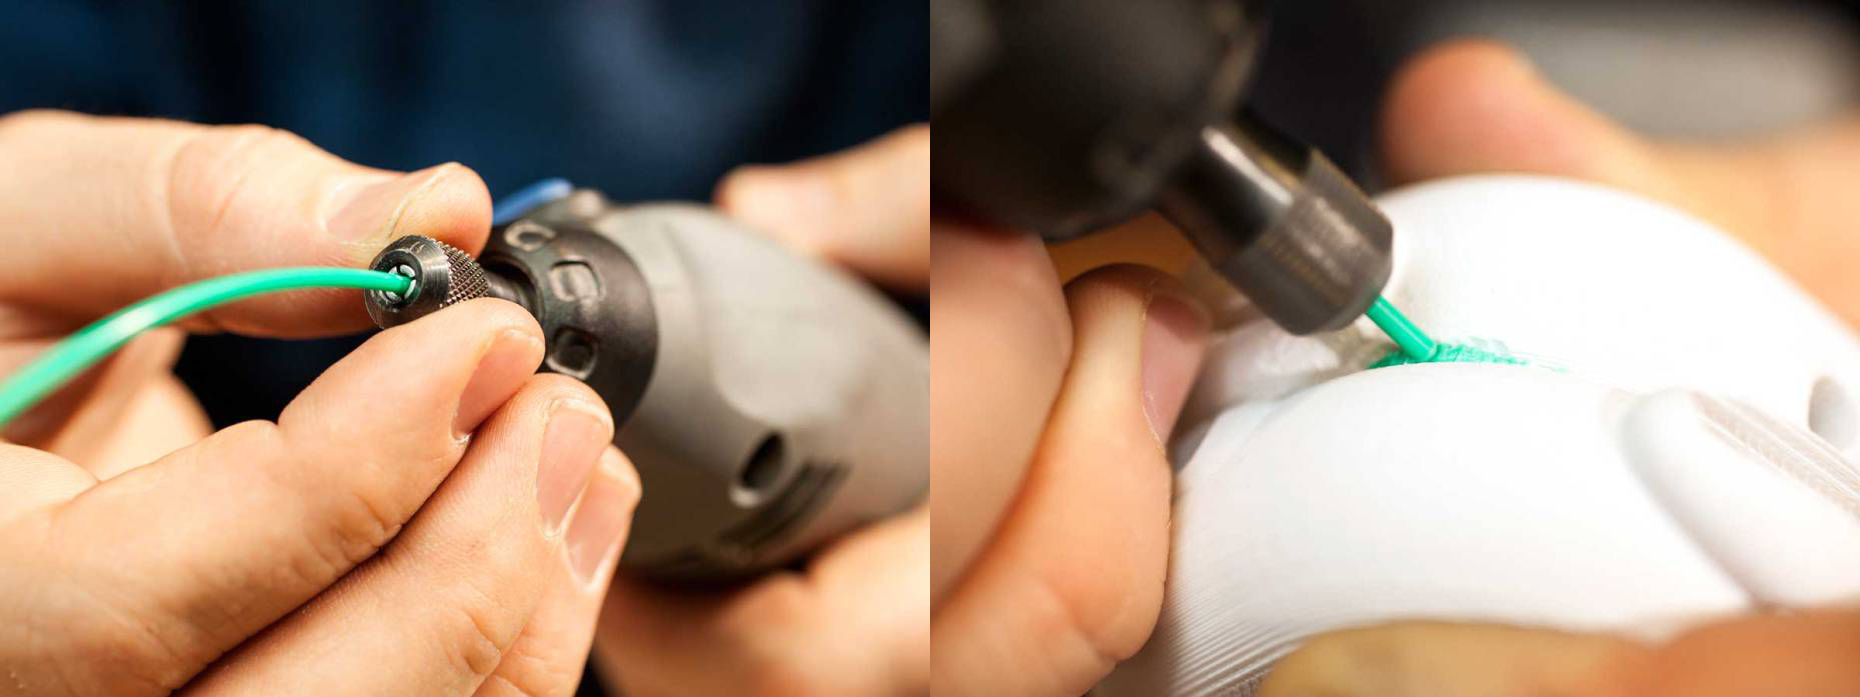
- Prepare your tool: insert a short piece of filament into a dremel tool. Short pieces of filament are easier to control in the welding process. You want to trim it to about 1/2″ from the collet.
- Prep the two parts you are going to join by heating it up slightly with a heat gun. This will help the parts receive the weld.
- Tac weld the parts together with a series of small welds. Lower the spinning filament until it touches both surface parts of the seam. When the filament is heated up and starts deforming, apply a bit of pressure. Wiggle it around a bit so you create a little spot weld.
- Once you tac welded the pieces in place, you can go back and fill in the rest of the weld with more filament.
Post Processing for PLA
Sanding
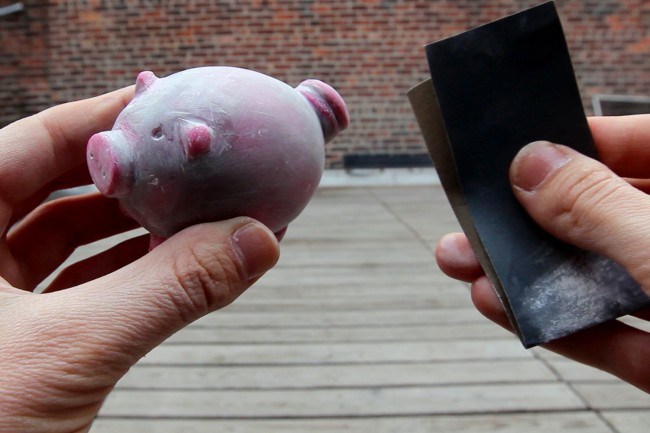
- Start with a low grit sand paper (100-200) to remove heavy striations and any remaining support materials.
- It’s always better to remove as much support material as possible with pliers and x-acto knives before you start sanding.
- Depending on size and detail of your model, you will spend a bunch of time using 100-200 grit sand paper to work out all the kinks.
- Once the layers are less visible, work up to 400-600 grit to prepare the print for priming and painting. You can eventually work your way up to 2000 grit.
Some people prefer wet sanding.
- Use a container with water. Keep running your sandpaper and your part through it to wash small particle off.
- Follow the above steps, starting from low grit and working your way up to a much higher grit.
Pro tip: Sanding PLA is a slow endeavor and requires a lot of patience. Sand in small circles – the purpose of sanding is to make smaller and smaller scratches until they are invisible to the eye
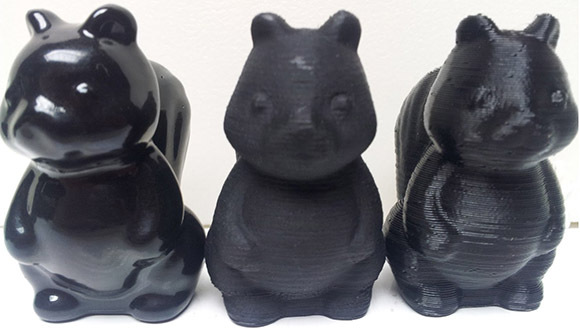
Smooth-on Epoxy
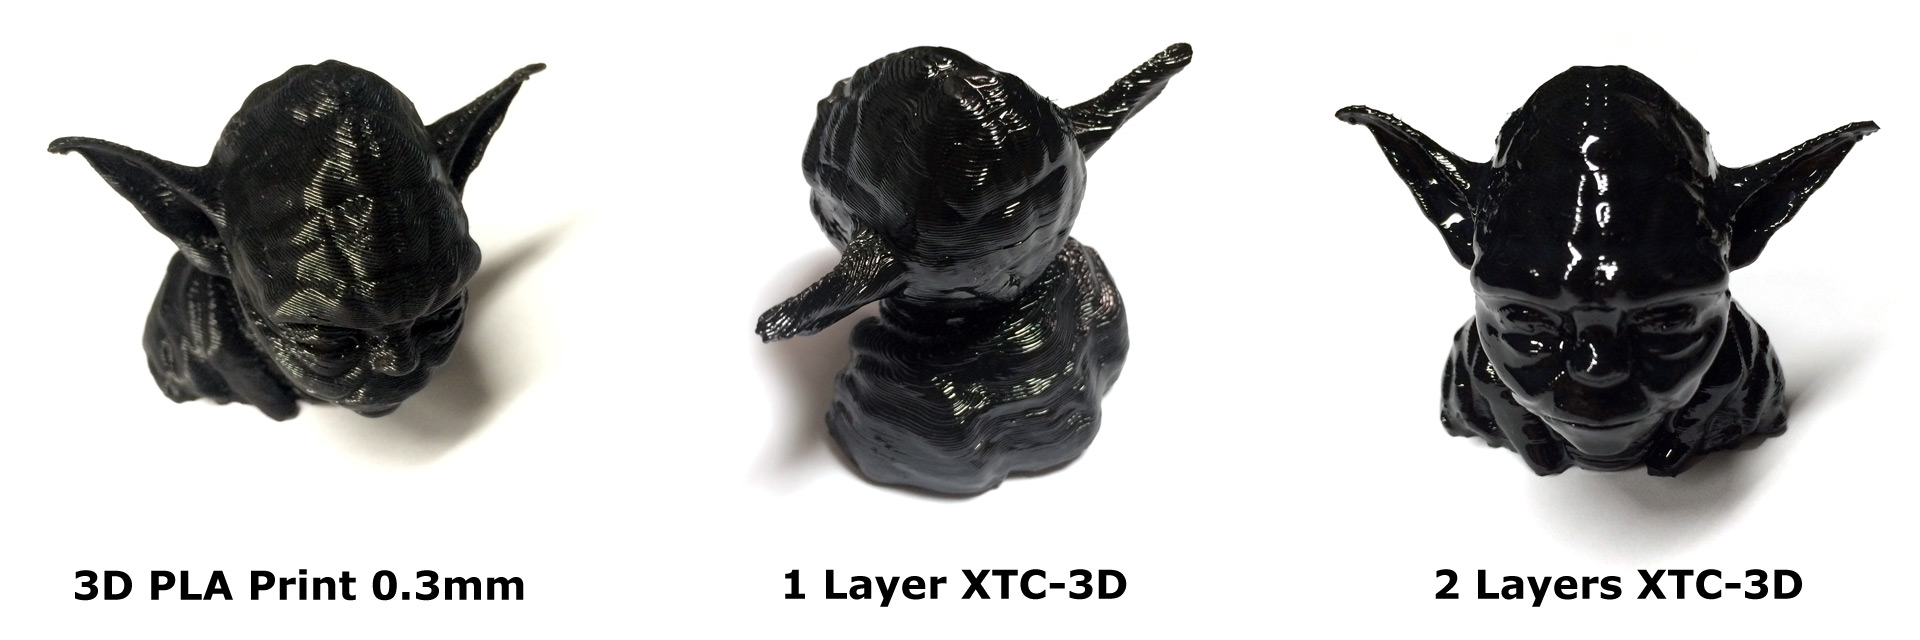
- Smooth-on epoxy is an epoxy resin that can be used to fill in striations on the prints.
- This also requires a lot of sanding and reapplying.
- After applying the resin, also start with low grit and work up to 600. You’ll have to apply a couple coats of the epoxy then sand it smooth before priming and painting.
- This method adds thickness so it will mess up those critical measurements.
Heat Smoothing
If you don’t want to apply paint, you can also use a heat gun to melt the surface slightly so it looks smooth. Be sure to practice on some scraps to get the hang of it!
Proceed with caution! There is a sweet spot, if you overheat the plastic, it can melt and warp very easily.
Vapor Smoothing
Using vapor smoothing method is also possible. The substance is ethyl acetate.
If you choose to try to out, please please please do so in a well ventilated area.
Post Processing for ABS
Acetone vapor smoothing
The molecules of ABS and acetone don’t get along. Acetone basically melts ABS. Smoothing is just that, melting the surface a little.
There’s a cold method and hot method. The cold one takes a bit longer but is much healthier for you. Make sure this is always done in a VERY well ventilated environment.
Cold Method:
This method takes quite a bit of time but very little effort. You will need a container with a lid, some paper towels, aluminum foil and pure acetone.
- Use a large-ish container with a lid, large enough to hold your print and give it lots of breathing room.
- Line this container with paper towels. Leave one side uncovered so you can peak in and check on the progress.
- In a VERY well ventilated environment, pour in some 100% acetone to soak up the paper towels.
- Put down some aluminum foil on the bottom and place your print on top. (You don;t want the print to directly touch the acetone, that will melt the print.)
- Close the lid and wait several hours. Time will vary depending on how much acetone you put in the container.
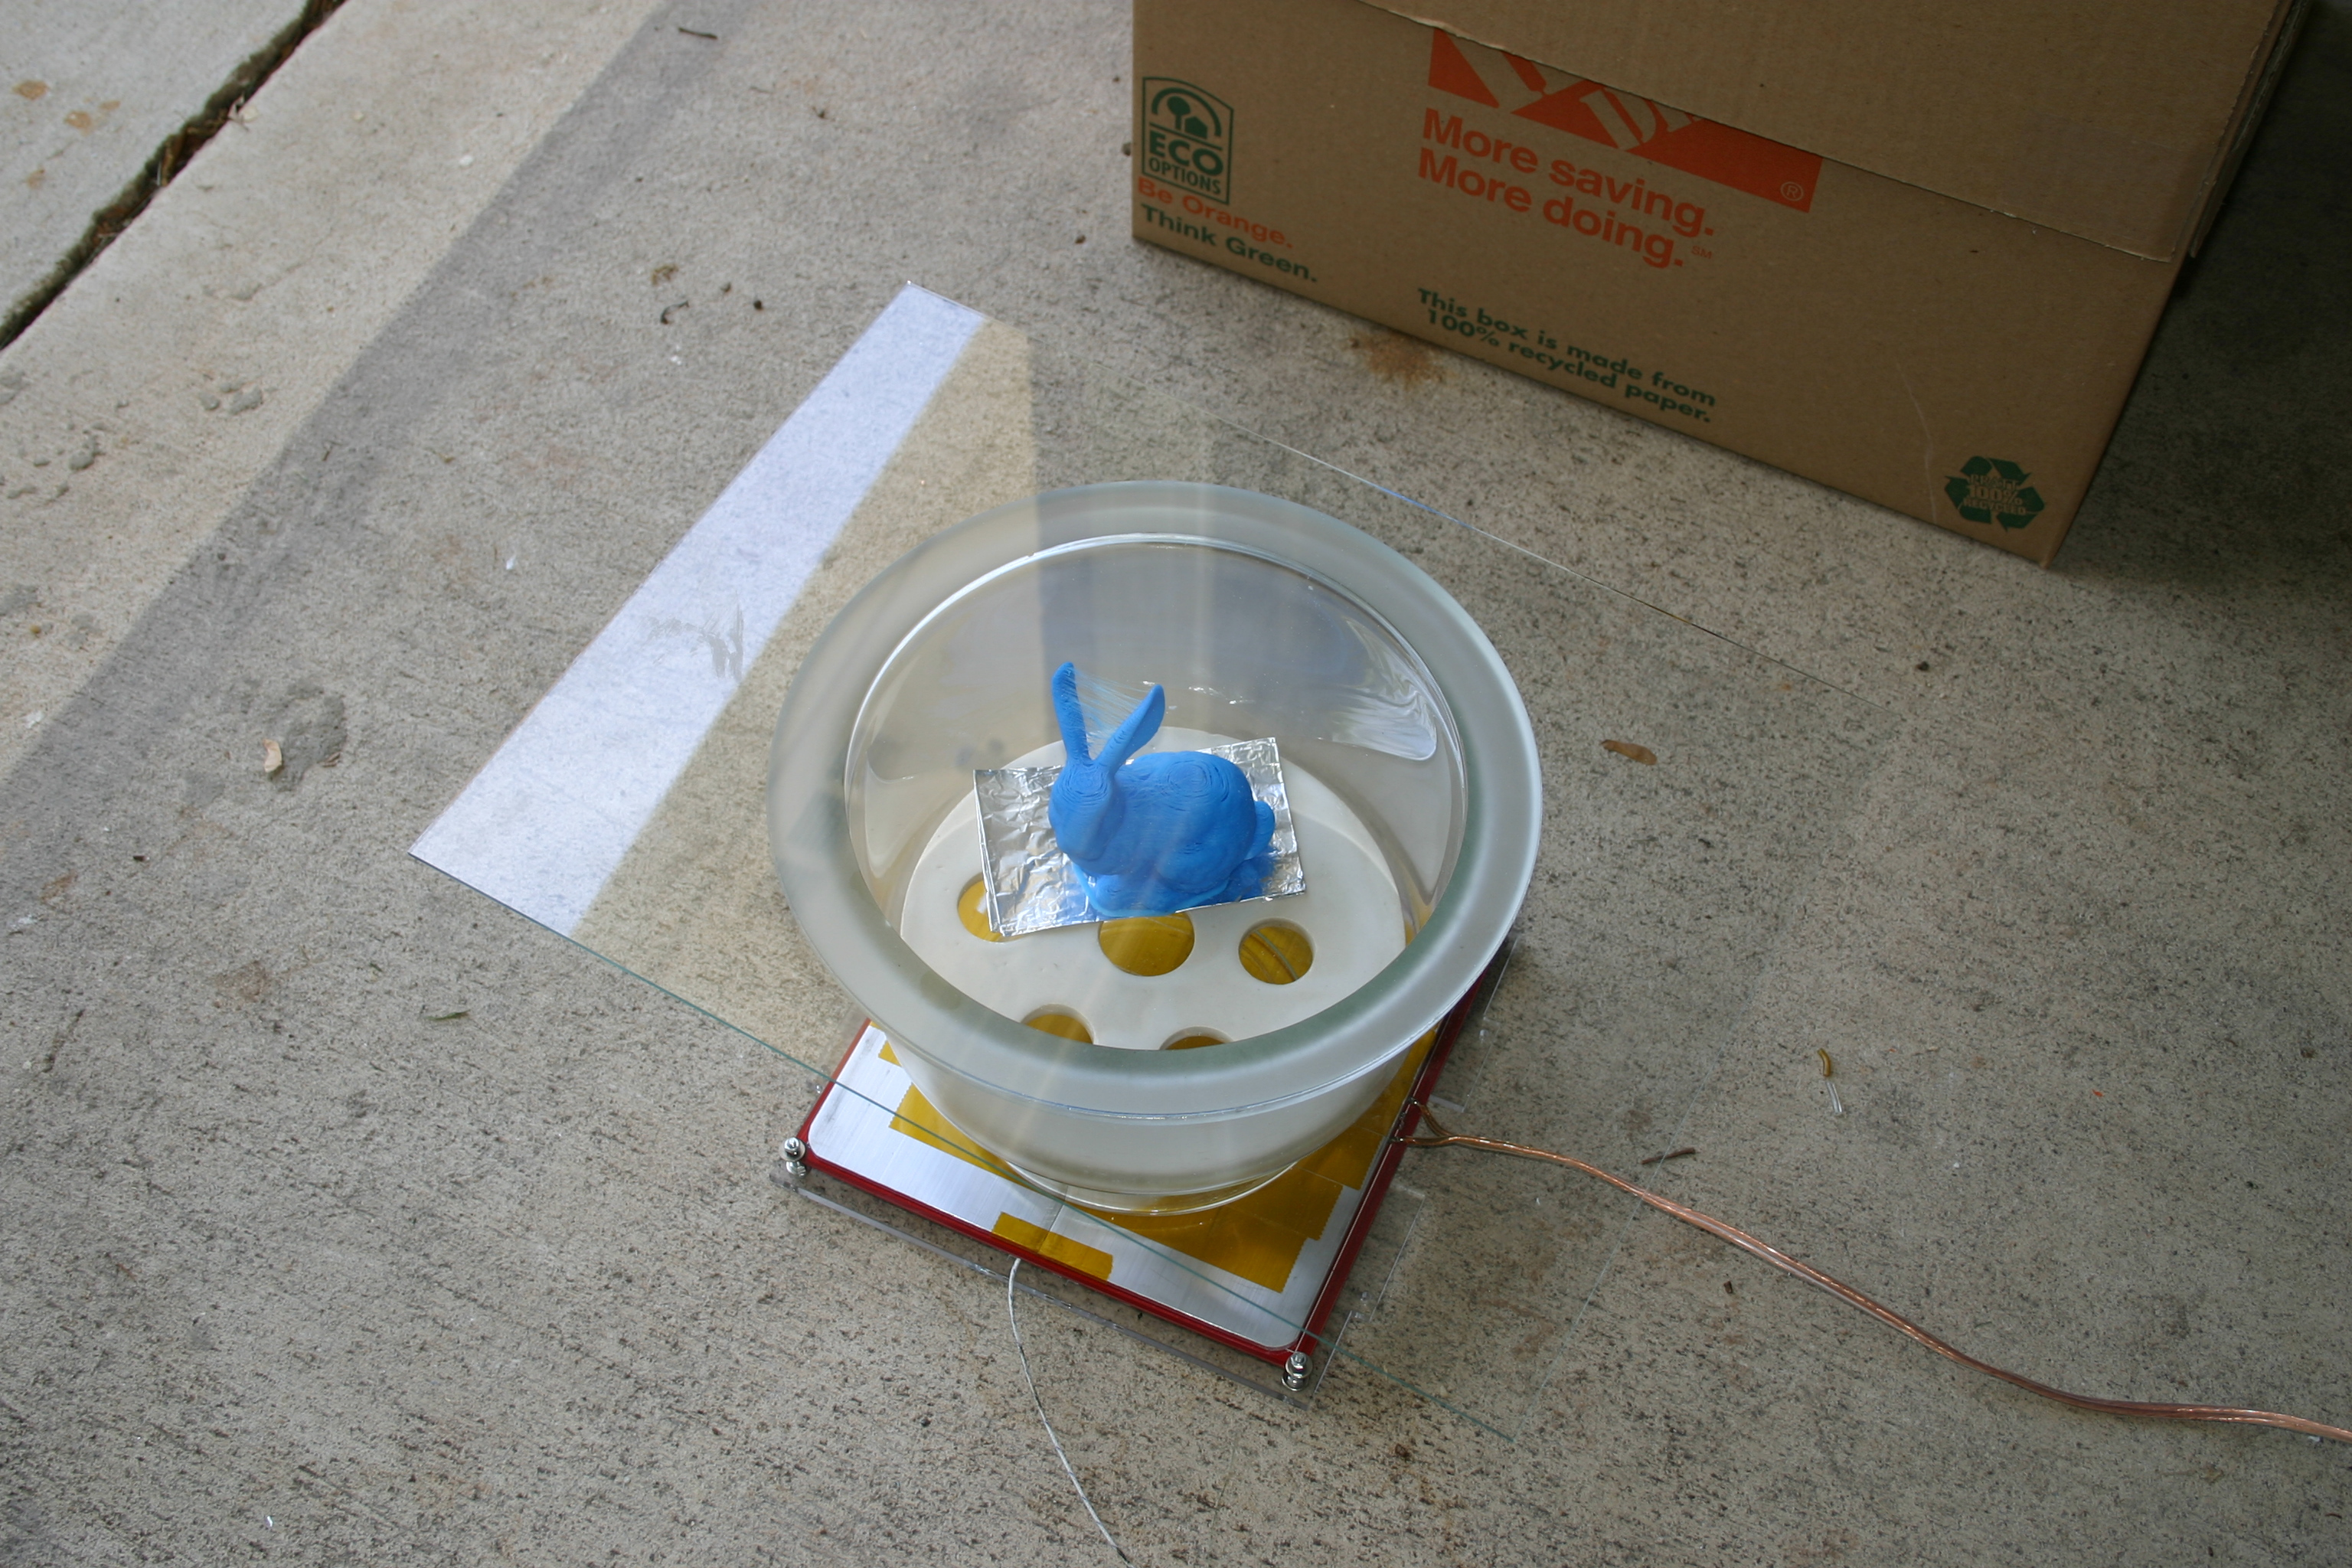
Hot Method:
This method is a lot quicker but also a lot more dangerous – make sure you do this in a well ventilated environment. You will need a hot plate, a container that can be heated (best is a glass container), aluminum foil and pure acetone.
- Set hot plate temperature to low.
- Pour some acetone into the container and place on the hotplate.
- Create a stand for your print with aluminum foil so that it does not touch the acetone.
- Place it inside the container and cover for about 5 min, then remove.
You can also mix acetone with some ABS scraps to make a slurry that can be used as a solution to glue ABS parts together.
Pro Tip: If you let it go for too long and the vapor get’s infused into the print too much then the whole print becomes gooey.
DO NOT ATTEMPT THE HOT METHOD IN THE BTU LAB - there is not proper ventillation, you would need to find another place/method for heating the acetone.
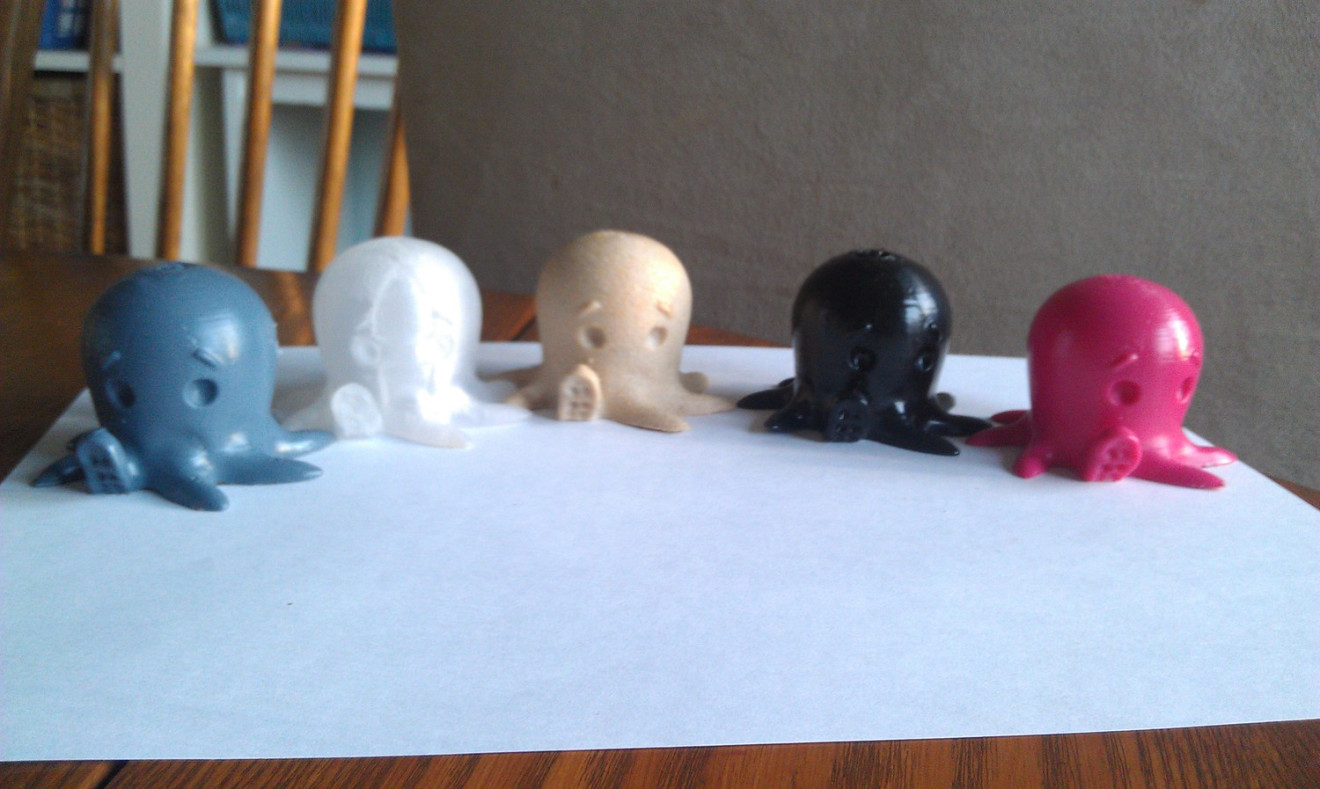
Priming and Painting your 3D prints
- After sanding, clean your print, make sure it’s dry, dust free and oil free.
- First use a primer to pre-treat the surface to ensure the smoothest finish. The coat of primer will also seal up the print and ensure a better bond for the paint.
- (When using spray paint, always make sure to shake the can well and test it out first on another object before spraying your print.)
- Allow Primer to dry then use desired spray paint color or model paint colors.
- Spray at least 6-8 inches away from the object and apply multiple thin coats rather than thick coats. Allow piece to dry in between coats.